
How to Build A Raised Garden Bed From Scratch At Home!
- SideofGlam
- Jun 18, 2020
- 3 min read
Updated: Nov 8, 2023
Gardening is a HUGE part of my life! This spring we wanted to have a risen garden in our yard because I love to garden! I called many landscapers and got a bunch of quotes that were all $500+ just to build the garden! I could NOT believe that price for some dirt and wood. So, we took it upon ourselves to build our own home garden for just the cost of materials (which was NO where near the $500 mark).
For a full video walk-through of these instructions, click here to watch my YouTube tutorial video of our Garden Build.
These are the steps we took to build our beautiful garden with tips and tricks we learned along the way!
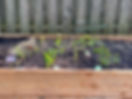
Here is the end result of what our garden looks like!
First:


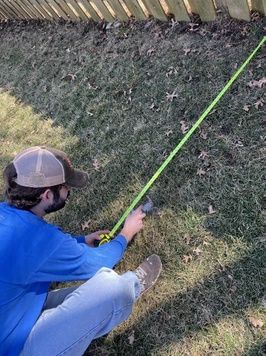
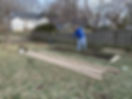
To start out, we measured out to see how far from the fence we wanted to be so that the shadows wouldn't cover the garden at any point. Make sure you go out during the peak sun point of the day so you can see what kind of coverage your garden might get throughout the day.

Next, we line out our measurements with string and nails so we can map out where we need to till the garden plot.
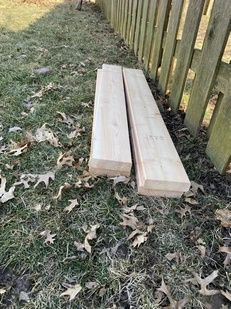
We got 4 planks of Untreated and Uncured Wood: Cedar 16 X 6 X 2 for the full length. This allowed us to place one plank on top of the other for depth and rise of the bed. The reason it is SO IMPORTANT to get untreated wood is because treated wood has chemicals that will get into the soil and then into the food that you just grew! We do NOT want that in our home garden!
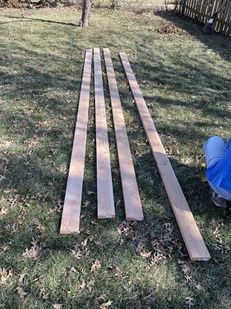
We lined it out from our string and nail mapping to make sure all the pieces fit!

Next we TILLED! This part took a little bit of time because we tilled by hand. If I ever build a garden again we will definitely get an Automatic Tiller to get the job done in less than 10 minutes vs. the hours it took us. (Great bonding time though)
The tilling is complete!

Next: We lined up the boards and but nails into the corner edges (like pictured below).
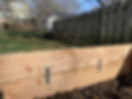
We then add the nails and brackets to the wood planks to build the structure! This is actually a really easy part!

To seal it together we added All Purpose Silicone to the inside seams of the boards. This helps to make sure that all water and dirt stay inside of the garden. It is weatherproof and dries clear.

We then add the compost to the first level, right after the tilling level. Having the compost on the bottom level helps the nutrients of the ground and the new dirt thrive!


We ended up needing 31 bags of garden soil to fill the plot completely.

We filled it right over the compost we had laid.

Next, once the garden is filled with soil, we took a rake and evened out the dirt and broke up any clumps.
Here are the seedlings I had grown and plants we bought at the store ready for the ground!

Next I plot out my plants to make sure there is enough space for each plant!

And then we plant! Oh the glory has finally come!

Now its time to sit back and enjoy the fruits of your labor!

Here you can shop EVERYTHING I use for my garden from start to finish!
Here is what my garden looks like now 3 months later. It is holding up GREAT and I have zero complaints or things I would change. Everything is growing so well and the build is sturdy and standing strong!

I hope you find these tools and instructions useful! Let me know how your home garden build turns out, I'd love to see it!
xoxo,
Sideofglam